
|
start - tips - pictures - signal flow - presets - repair dead keys | apps: patch editor - sysx analyzer | midi: sysx structure - cc messages - BCF2000
Open the unit
First, it is forbidden to be in a hurry while performing this job. Relax first, stop the clock, enter the zen state and stay sharp.
In retrospect this manual describes all the steps that worked well for me. Still you will do all these things at your own risk.
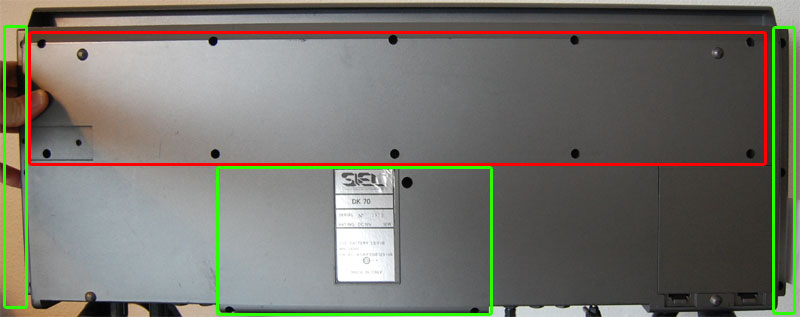
Second, loosen the bolts a bit around the 5 jack inputs and outputs. You don't have to remove them.
Third, take out the screws in the green area. There are no hidden screws, like under the sticker or inside the battery compartment.
There are 3 screws on both sides and 3 in the middle (including the one next to the sticker).
The red marked area shows the screws that hold the keyboard to the underplate. Don't unscrew them yet.
Gently lift the top plate.
If it resists, you forgot a screw or a bolt. Recheck, don't use force, because this is old plastic by now and it can break very easily.
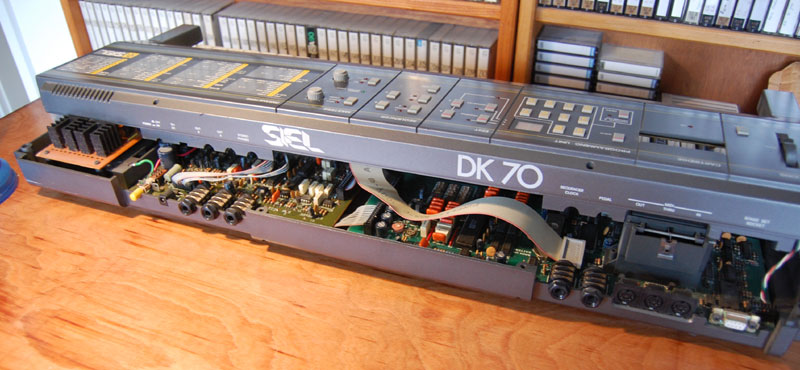
Now you can have a look inside the unit. You don't have to unplug anything at the moment.
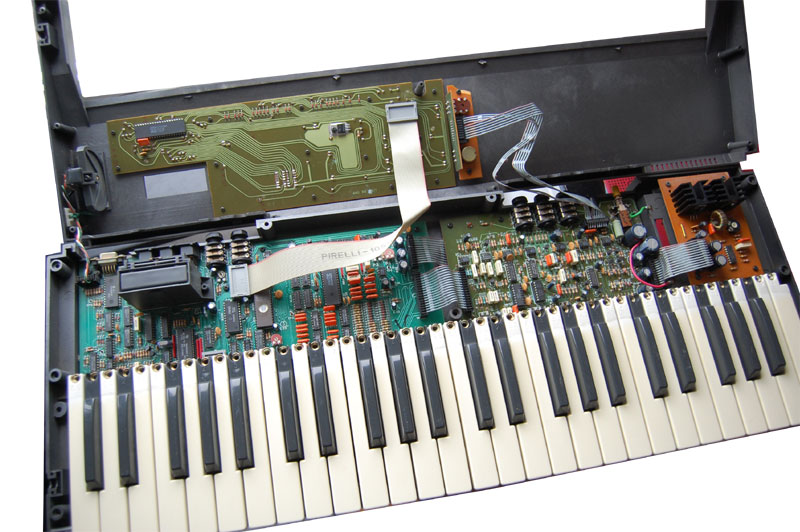
Find your way to the underplate again, and unscrew the 10 screws in the red area, while holding the keyboard (you can use some extra hands here).
Keep the keyboard into place while putting the unit back on the table. Now you can lift the frontside of the keyboard to unplug the connector.
Do this, by prying a small screw driver under the connector and try to lift all the metal pins evenly. These break off very easily when accidentally bent.
You will be very unhappy when this happens. Trust me I know.
The keyboard is nowhere connected to the unit anymore, so lift the keyboard and put it upside down on the work table.

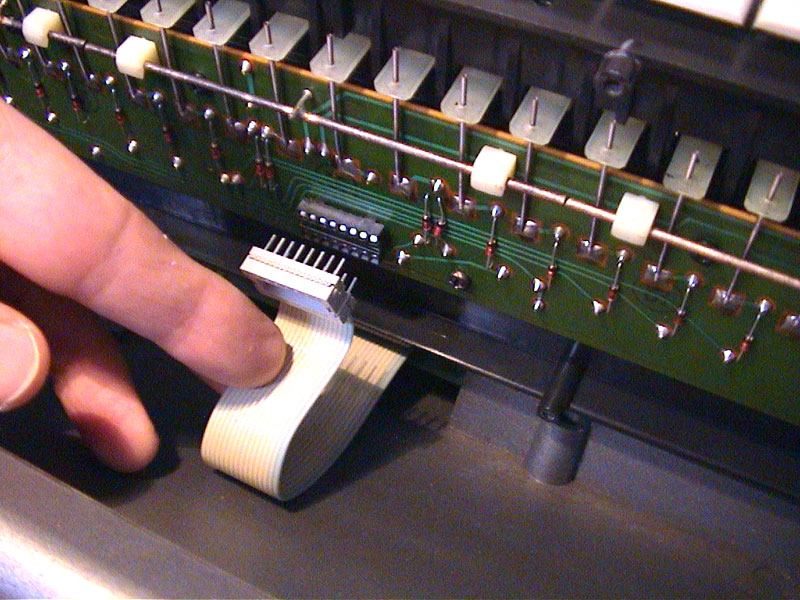
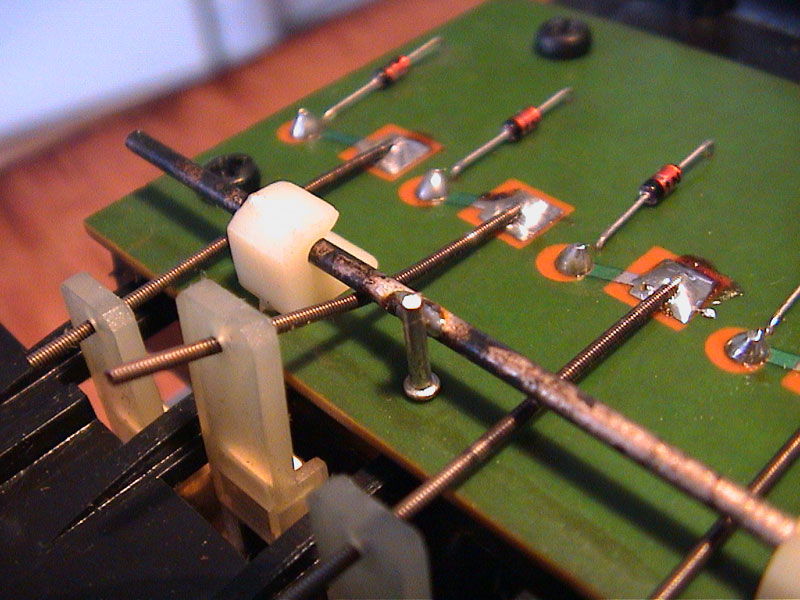
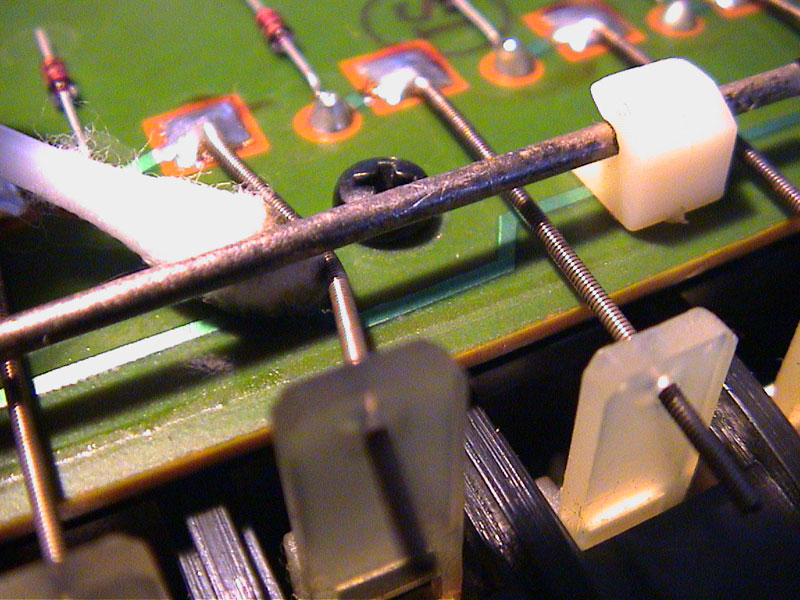
When you press a key, you will see that a spring connects to a metal wire, making the connection. Or not.
You see the wire and the spring here are quite dirty. Black is not a good color for healthy connections.
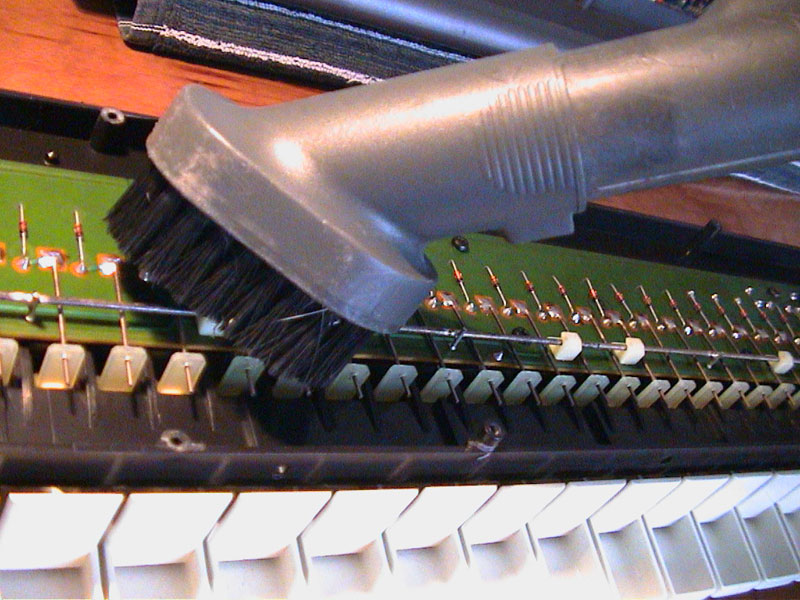
Cleaning step number one: dust off the plate using a vacuum cleaner with the brush connected. That will teach the dust particles.
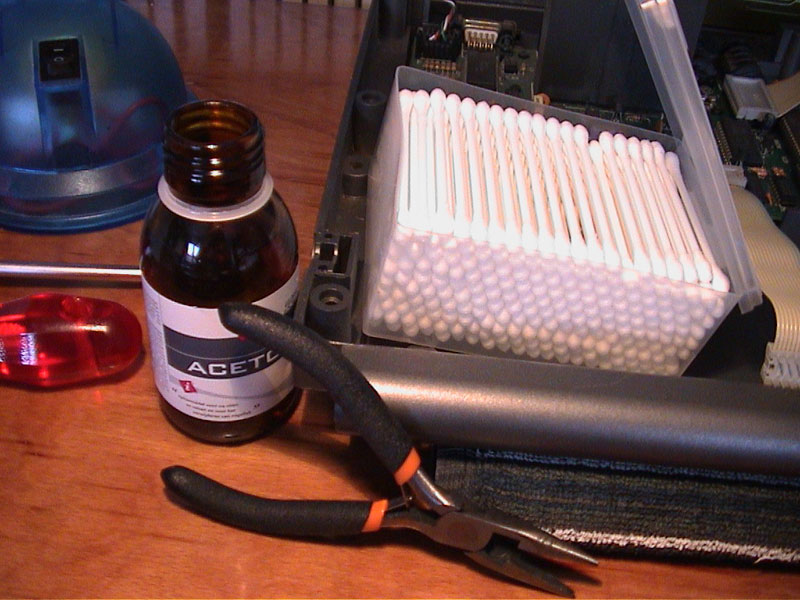
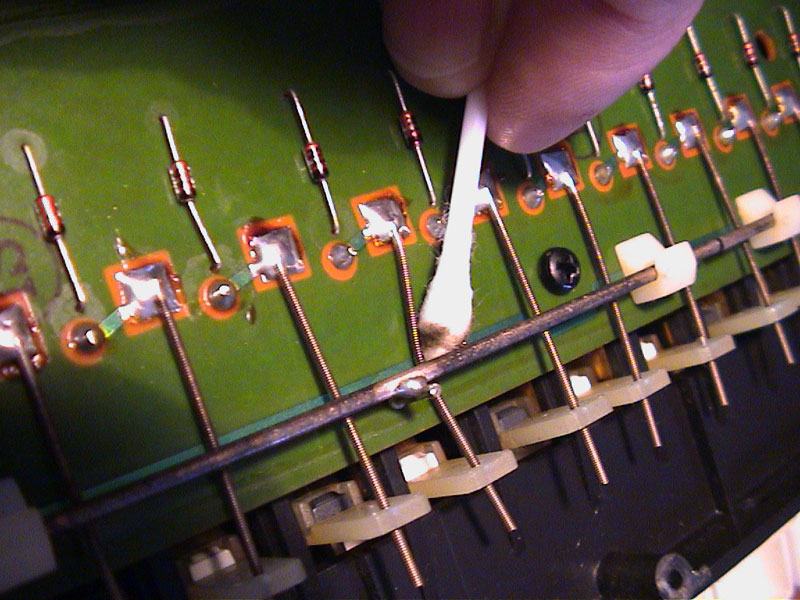
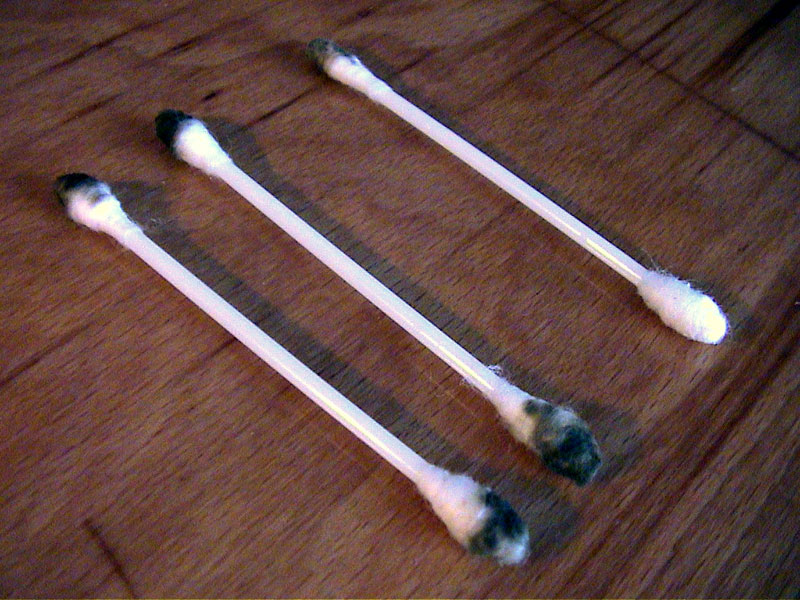
Second cleaning step: use a cotton stick dipped in acetone to clean both the underside of the wire and the spring.
If you would like to keep your focus on the job at hand, please do not inhale the acetone for extensive amounts of time.
Be very gentle with your TLC, this is an old machine.
The acetone will just dry up, leaving no trace.
When you're done, you should have cleaner contacts and dirtier cotton sticks.
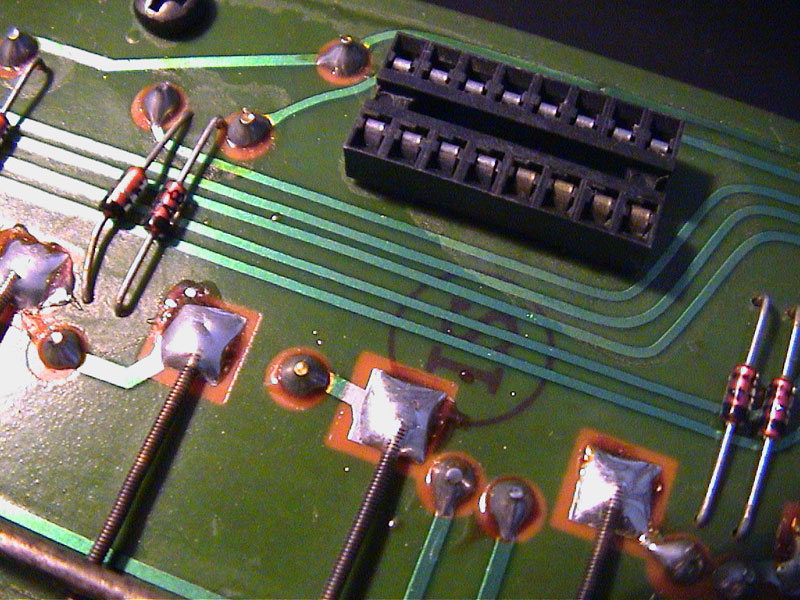
Somebody has used an awful amount of soldering flux, building this unit, but did not care to clean up afterwards.
While you're at it, you can also clean the contact pins of the connector the same way (how to get the 49 keys through 16 pins?).
Make sure that there are no cotton strings left behind in the contacts when you're done.
Vacuum clean the wire and springs again, to remove the cotton residue. Check thoroughly for leftovers.
Put everything back into place, in reverse.
When you screw back the screws, do not screw them in. First use the unscrew motion (counter clockwise) on the screw, until you hear or feel a click.
This is the moment when the screw finds the thread inside its plastic receptor. Turn counter clockwise a few times more until you are sure.
Again, the plastic is very old, when the screw is not inside the old thread, it will create a new thread. This will usually destroy the plastic receptor.
That is a bad thing.
When everything is back into place, and you did not forget the keytar side bolts, like I did, play all the keys on the keyboard.
Some keys will not make a sound at first, but do not worry. It'll learn.
Keep pushing the keys until some last dirt on the spring and the wire will come off, while playing the key.
Congratulations with your new keyboard.